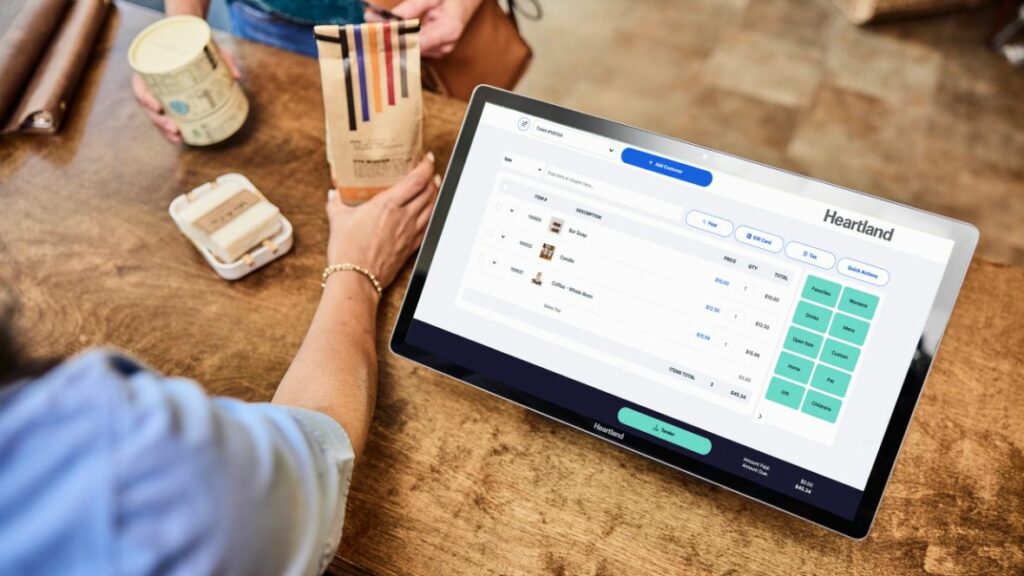
Making the switch to a new point of sale (POS) system can feel overwhelming, especially if you’re moving from a system you’ve used for years—or worse, one that’s being discontinued. But while it’s not always easy, switching to a reliable POS like Heartland Retail is worth it in the end. It gives your business better tools, more flexibility, and the ability to grow.
As retail merchants ourselves, we understand just how stressful this process can be. That’s why we’re sharing a clear overview of how the switch works and what you can expect at each step.
First Things First: Choose Your Data Migration Type
Before anything else, you’ll need to decide which type of data migration you need:
→ Basic Data Migration
This includes just the essentials—your customer list, vendor list, and item list. If you don’t have a previous POS system, you’ll fill out a template spreadsheet to get started.
→ Advanced Data Migration
This includes everything in the basic migration plus your historical sales and customer transaction data. It’s more comprehensive, but may not be possible with all existing POS systems. Advanced migration usually comes with a higher cost than basic.

Step-by-Step Implementation Process
Once you’ve chosen your migration type, here’s what the switch looks like:
1. Getting Started
- Your Account Manager will work with you to build a quote and Statement of Work (SOW).
- Once finalized, you’re assigned to a dedicated implementation team:
- Basic migration = CRS Team
- Advanced migration = Heartland Team
- Basic migration = CRS Team
- You’ll have a kick-off meeting to review the scope, ask questions, and provide access to your current POS or upload the required data.
2. The 5 Stages of Implementation
- Data Work & Validation
We move your data to a training version of Heartland Retail. You’ll review and help validate it so everything looks and functions the way it should. - Remote Training
After validation, we schedule your first training session (typically 2 hours). More sessions can be booked later if needed. - Hardware Setup
If using your own hardware, we’ll test it for compatibility. If using new hardware, our support team will remotely install it once it arrives. - Pre-Go Live Prep
The week before going live, we help finalize everything—training, integrations, hardware, and even test transactions. - Go Live Day
You’ll have a dedicated support person with you to make sure everything goes smoothly. We recommend going live on a Tuesday, Wednesday, or Thursday, so you have support before, during, and after the switch.
After Go Live: We’ve Got Your Back
All new merchants get 90 days of platinum support, no matter which support package they’ve selected. That means white-glove help while you get comfortable with your new system.

No two businesses are the same, and no two POS implementations are exactly alike. Some steps may differ depending on your setup, but one thing stays the same: we’re committed to making this transition as smooth and successful as possible.
Yes, there’s some effort required from you—like validating data and learning the system—but we’re here to take care of the heavy lifting. Your success is our success, and we’re with you every step of the way.


